About
Motion Emulator is an Xposed-based location mock app. It is superior to other apps in support of:
- Sensor and telephony data collection and simulation
- Trace modification and salting
- Both root and non-root devices
- Map and coordiation system covertsation
Downloading method
In this article, several downloading methods are provided. Choose according to your needs.
Download
Release Note v1.2.2
Bugfix
- Crash when exporting (sharing) recorded data
- Visual bugs in Recording and Emulation UI
- Missing
navigate uptooltip in Compose-based pages
Getting started
To get started with Motion Emulator, taking the following steps.
Choose the Right Plug-in
Different plug-ins implement partial or full functionality of Motion Emulator in different ways. Choose it wisely.
| Name | Platform | Implementation | Support | Fake Location | Fake Sensor | Fake Cell Station |
|---|---|---|---|---|---|---|
| Mock Location Plugin | Stock Android | Apps that doesn’t detect mock location | ✅🅱️ | ❎ | ❎ | |
| Websocket Plugin | Xposed | Majority of apps | ✅🅰️ | ✅ | ✅ | |
| Content Provider Plugin | Xposed | Majoriity of apps that target sdk version 30 or lower | ✅🅰️ | ✅ | ✅ |
Plug-in Activation
In the app’s main page, select No Plug-ins Found card. This will bring up the
plug-in manager.
From the DISABLED list, click on a wanted plug-in to start downloading. After
completion, permissions to install unknown apps may be required. The app will
automatically make request and install the plug-in.
Drag and drop the installed plug-in to the ENABLED list to activate.
Plugin specific configurations
Plug-ins which are based on Xposed requires additional configuration in the framework you are using.
For the Mock Location Plugin, setup according to the contained instructions.
Drawing Path
Back to the main page, select Draw Trace card. Within the first attempt, maps
are to be configured.
Choose the right map
Please choose according to your needs. If you don’t know what you are doing, select Google Maps.
Note that the maps viewport is centered with your approximate position. Click on
the Add Trace buttion on the bottom of the screen to start creating. Two
methods are provided to draw the new path.
Hand-painted
Move around the map to find an appropriate viewport. You can click on the search button on the top of the screen, jumping to points of interests convinently.
To start hand drawing, select the Draw Trace button on the bottom of the
screen, then select Opt. Then, interactions with the map would leave traces on
the map, instead of moving the viewpoint.
To undo the last draw, click on the Undo button on the bottom of the screen. To erase the drawn path, click on the Clear button.
When the drawing is completed, click on the Done button on the bottom.
GPS Sampled
To store real-world postions as path, click on the GPS Sample button on the bottom of the screen.
Seek signals
Find a place where satellites are available, especially outdoor and open areas. The app starts recording when the signal is relatively OK.
To pause the record, click on the Pause button on the bottom of the screen. To continue, click on the Unpause button. To undo the path drawn since the last pause, click on the Undo button.
After completion, click on the Pause button, then the Done button.
Start Simulation
Navigate back to the main page and select Emulate card. Configure the fields
of trace, repeat count, velocity, etc. When you feel lucky, click on the
Start Emulation button on the bottom of the screen.
Using Sensor Data
Start Recording
In the main page, choose the Record card. Select the demanded sensor types.
Click on Continue. The app generates various charts of involved sensors. After
finishing record, click on the Stop button on the bottom of the screen. The
app drops recorded data if not using the Stop button.
The Right Data
Different apps come with different algorithms. If you don’t know what you are
doing, align to frequency of steps. Navigate back to the main page and choose
the Manage card. The record can be found in the Sensor page. The velocity
estimated from step frequency is supposed to be close to the target velocity of
emulation.
Replay Method
In replay, Motion Emulator processes the data in a specific way. For records short in duration, same clips are repeated. For records that don’t align to target velocity, the clip is speeded up or down. Such modifications may produce unusual data.
Discussion
Sensor simulation is among the least tested functionalities. Most apps don’t have a powerful mechanism of detection. On the contrary, powerful apps are better adapted specifically.
Making Traces Random
In the main page, select the Manage card. Navigate to Traces page. Select
the trace to be edited. In the RANDOM FACTOR column, click on Add, then Random
Factor.
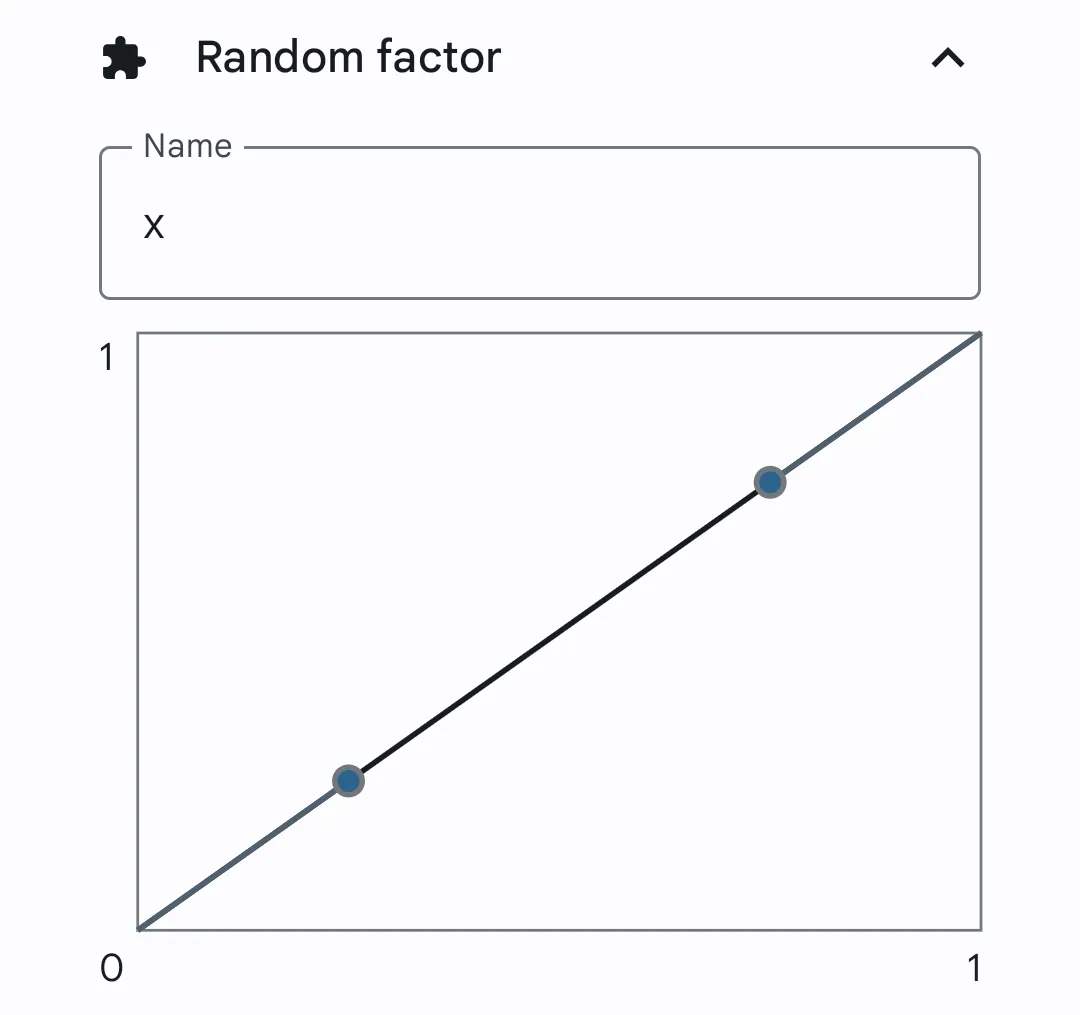
The way the graph works is that given a random point on the x axis, the corrsponding y coordination is the calculation result.
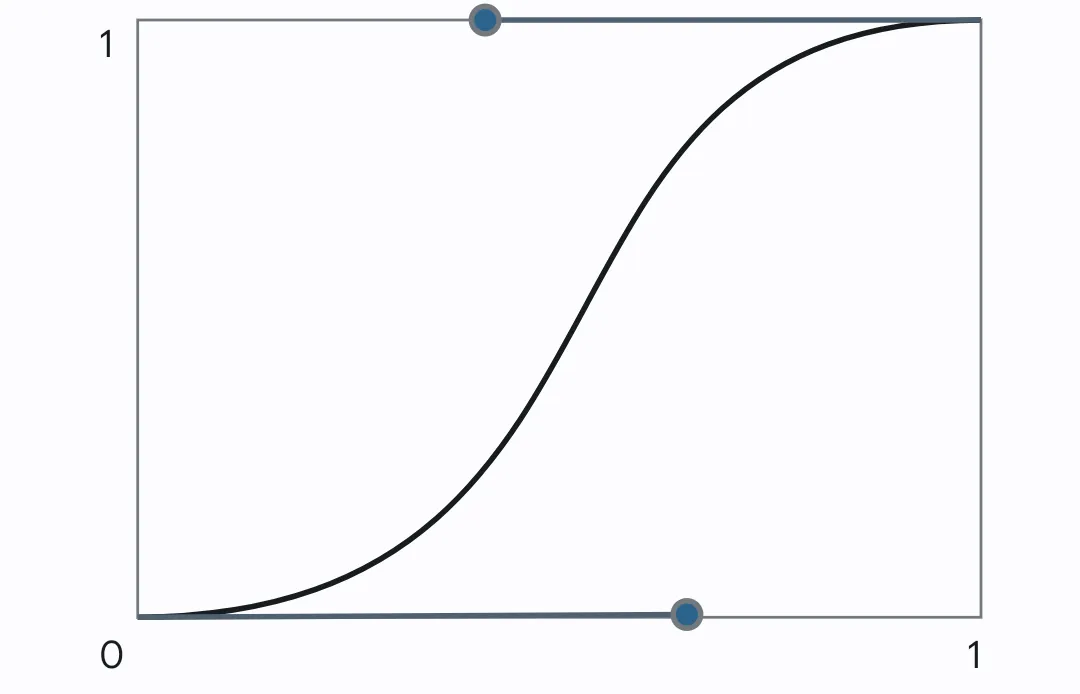
Random factor x is more likely to approach 0 or 1
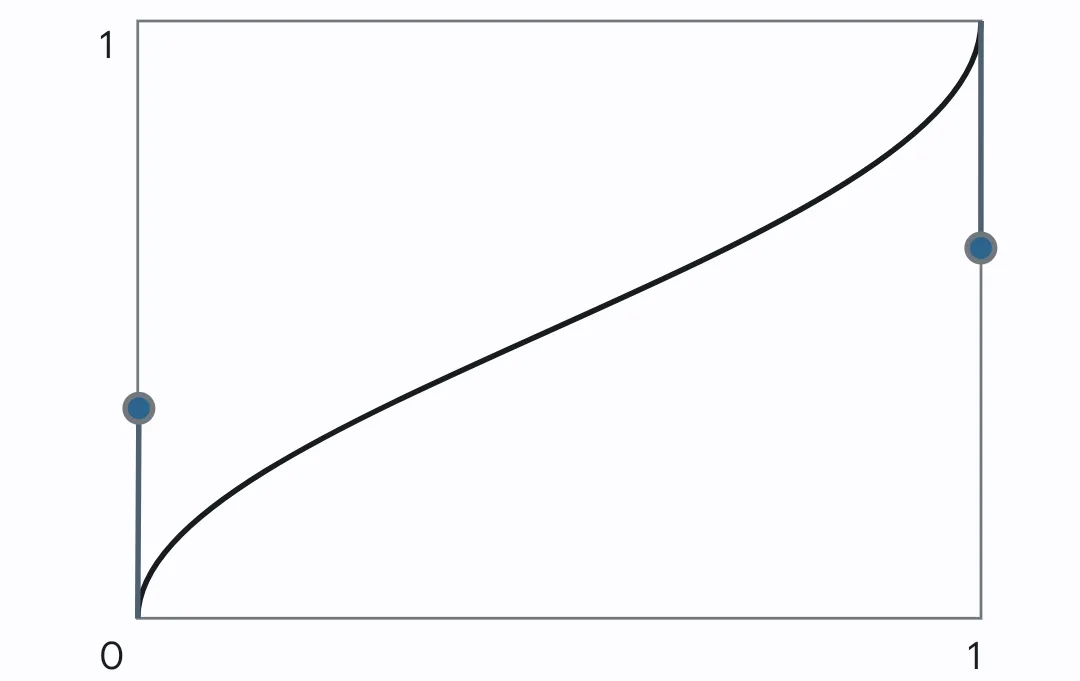
Random factor x is more likely to approach 0.5
In Adding salt popover, choose the demanded transform from rotate, scale and
translate.
Rotation
Select Rotation from the Adding salt popover. Expand this transform. Click on
the Σ button on the right, then click Use input. Type the following text in the
radian input.
2 * pi * xReasoning
In radian, 2π is one circumference. x ranges in [0, 1]. This random transform rotates the trace around at most.
Translation
Select Translation from the Adding salt popover. Expand this transform. Type
the following text in both the x and y inputs.
x * 10 ^ -4Reasoning
^ stands for exponential operation, 10 ^ -4 is ten to the power of minus four. This random transform translates the trace for ten to the power of minus four in the latitude direction.
Rotation
Choose Scale from the Adding salt popover. Expand this transform. Type the
following text in the x ratio input.
e ^ -xReasoning
e is the base of the natural logarithm. This is just for fun.